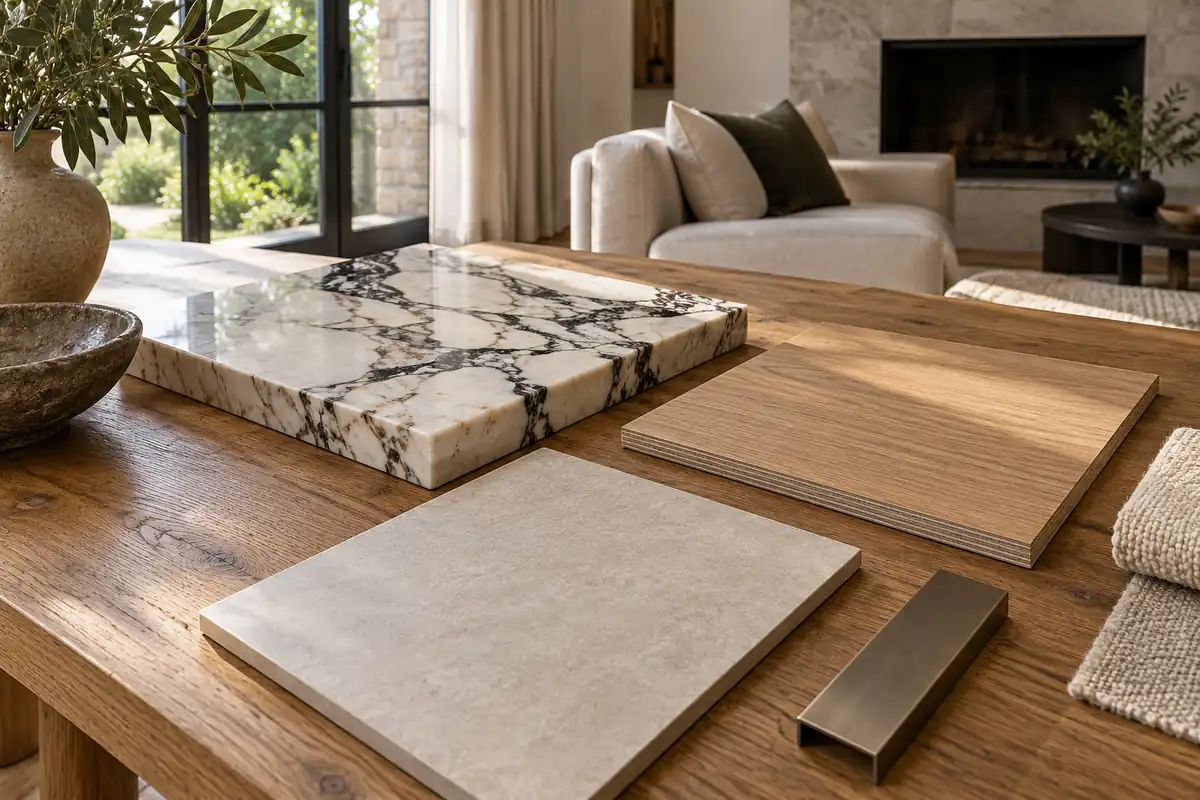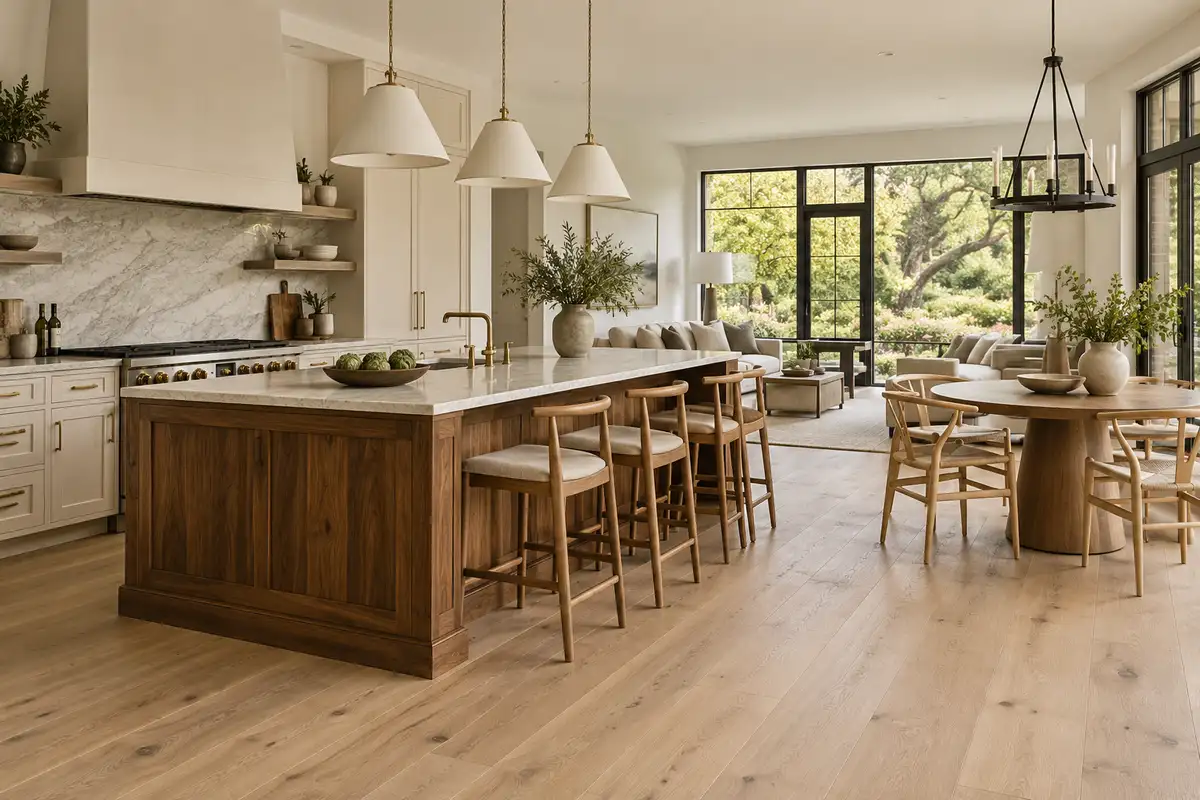
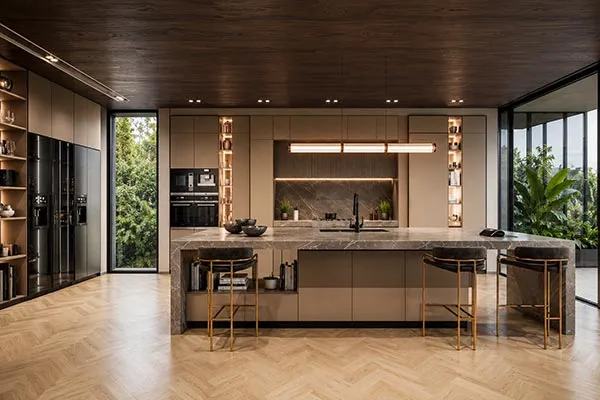




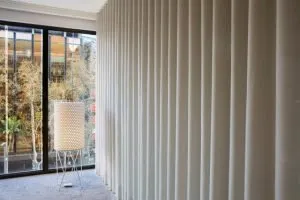
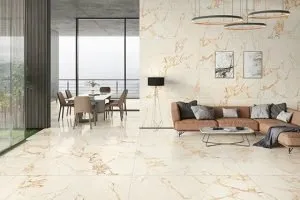
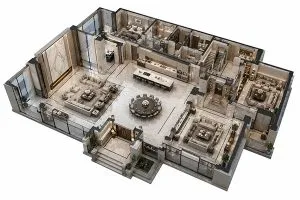









A marble sample catches your eye. The wood panel feels warm and beautifully made. Then comes the harder question: how much of it belongs in your room?
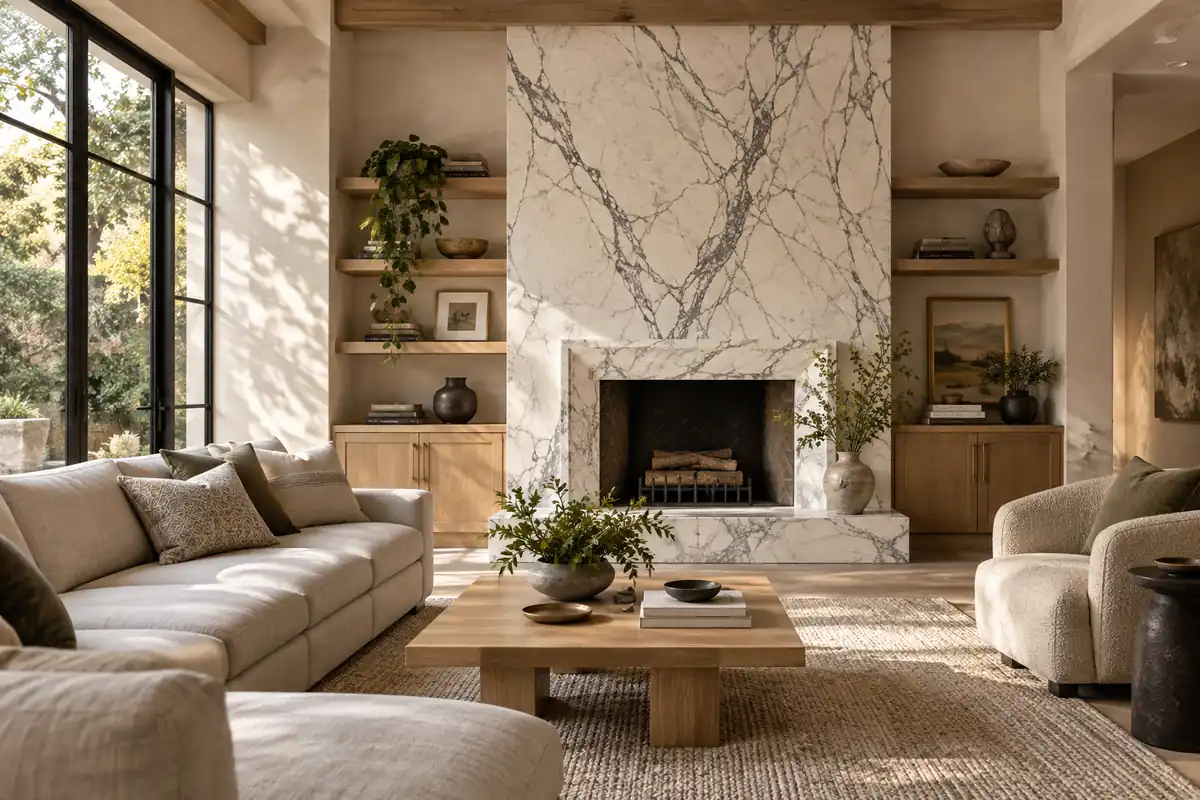
We usually start with one focal surface when a material has strong veining, deep color, or pronounced texture. Quieter finishes can cover more walls when the room’s proportions, lighting, and installation details support that choice. A fully paneled study can feel restful; three competing feature walls may not.
This guide helps you choose between a small accent, a complete statement wall, and a more immersive finish. The images are AI-generated design illustrations, not completed George projects or installation instructions.
Accent Wall or Full Room? Judge the Visual Intensity
Think of coverage as three options. A local accent highlights a fireplace surround, niche, or backsplash. A full accent wall runs from one clear boundary to another. A wraparound finish continues across adjoining walls, sometimes throughout the room.
We start by asking what you should notice first. The answer might be the fireplace, the view, or a beautiful piece of art. Your new material should support that choice.
| What you already have | A useful starting point |
|---|---|
| Bold veins, deep color, or strong relief | One focal wall or a smaller feature |
| Quiet grain and low color contrast | Consider adjoining walls or full-room coverage |
| Busy flooring, cabinetry, or artwork | Keep the new wall finish restrained |
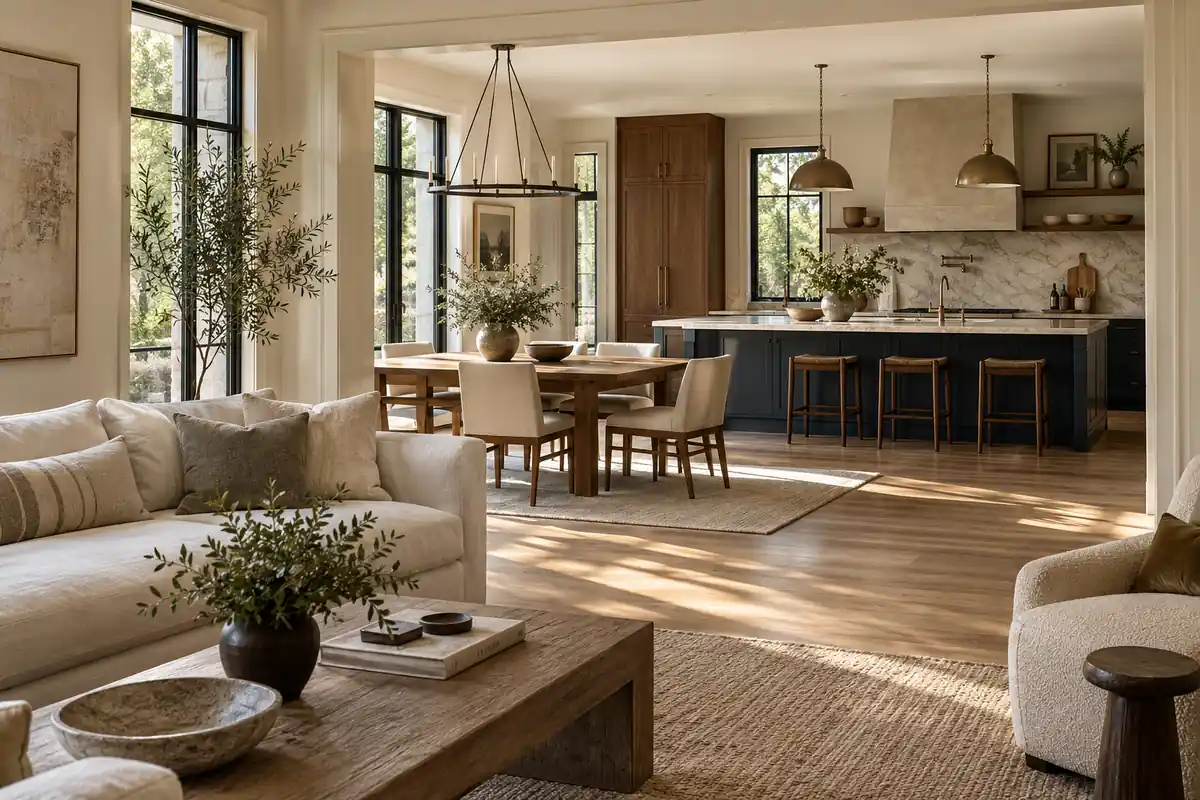
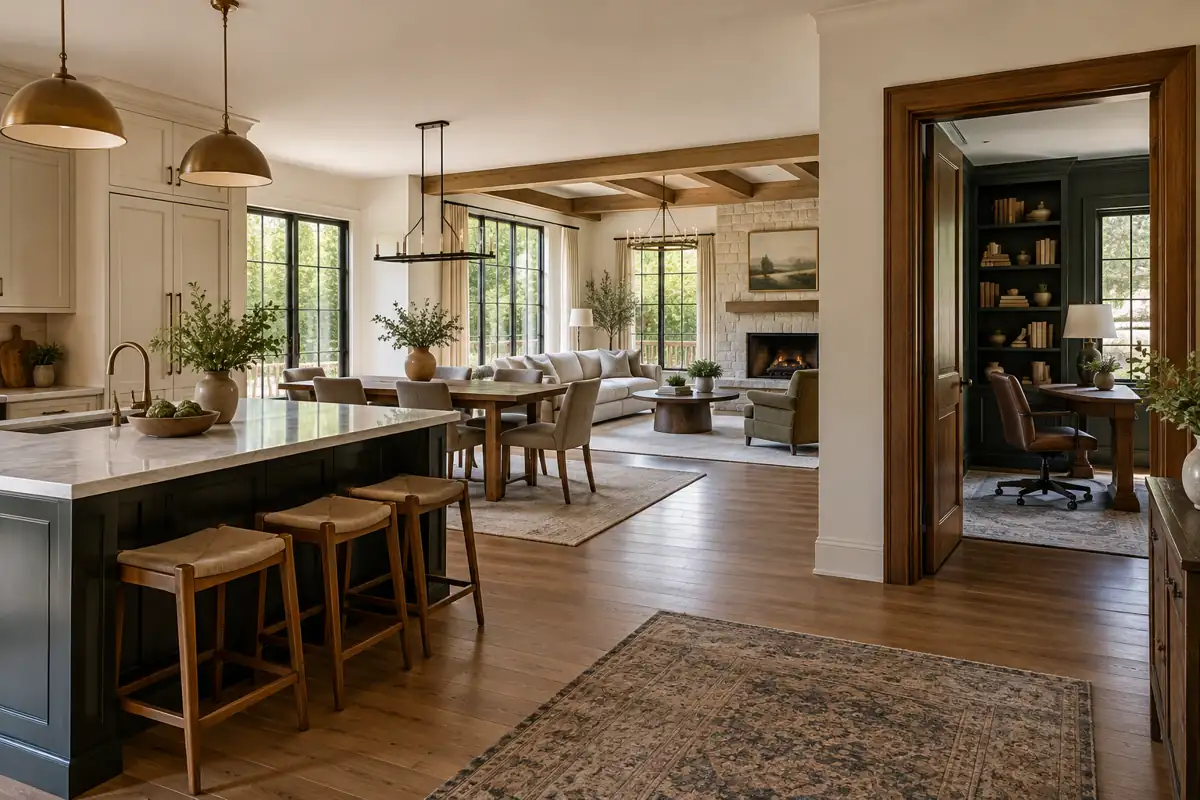
| Several rooms visible together | Plan focal points across the whole sightline |
These are design starting points, not fixed percentages. Stand at the doorway and then sit where you normally relax. A surface that looks balanced in a cropped photograph may dominate your everyday view. We would rather make one choice feel intentional than add another feature simply because a wall is empty.
Try reducing one variable at a time. Keep the marble but simplify the rug, or keep the patterned floor and choose flatter wall panels. This makes it easier to see what the room actually needs. You may discover that changing the finish or scale solves the problem without reducing coverage.
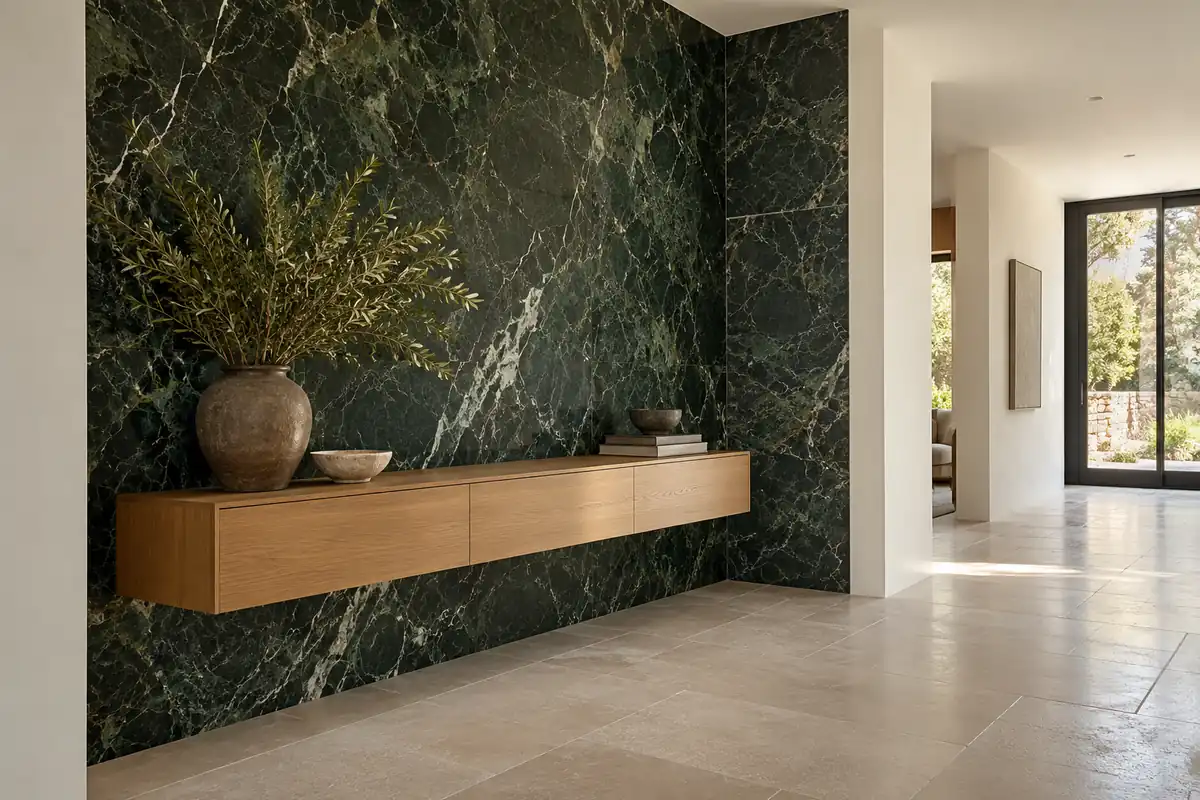
Marble and Sintered Surfaces: Let the Veining Lead
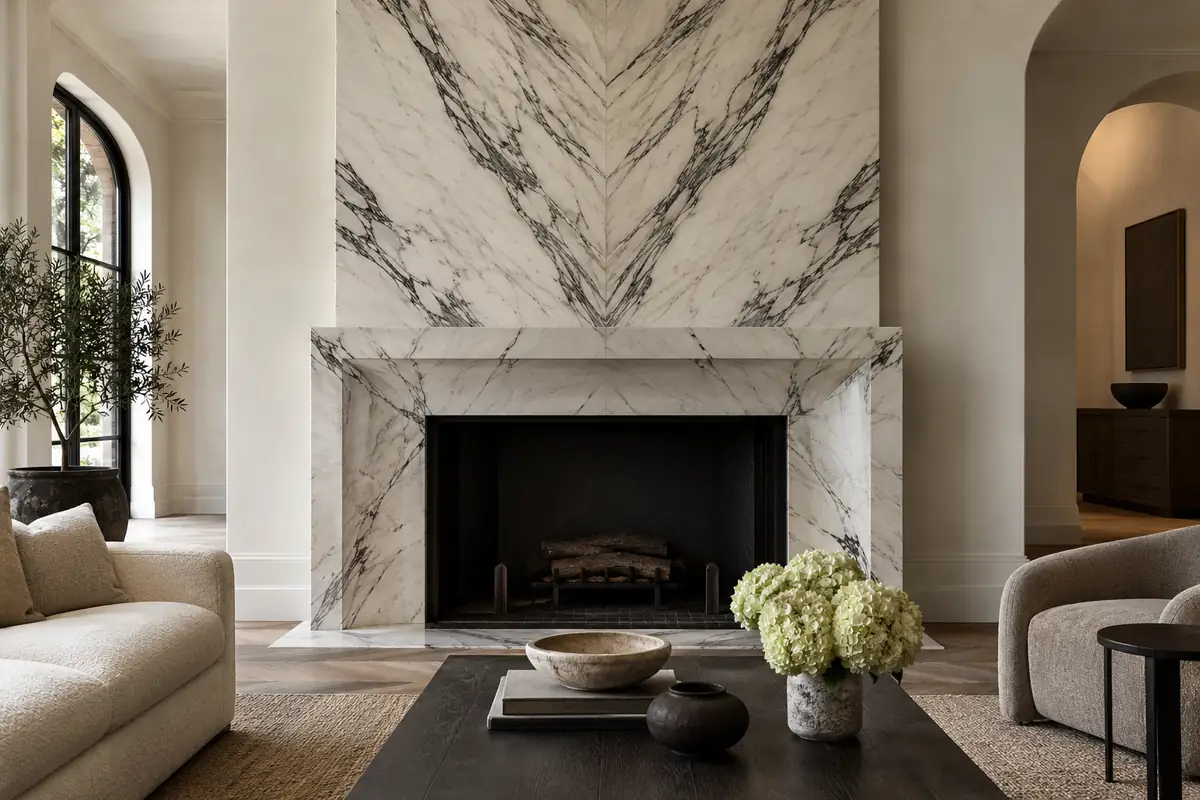
Expressive marble often works best on a fireplace wall or entry feature, with calmer finishes around it. If the stone already provides movement, simple cabinetry and plain upholstery give the eye somewhere to rest. Low-contrast stone can extend farther without creating the same visual intensity.
Natural marble and sintered or porcelain surfaces are different products. Compare the actual finish, edge appearance, care requirements, and approved applications. Ask to see full slabs or the complete printed pattern; a small sample cannot show how a large wall will read.
Plan the seams before approving the slab
Review vein direction, bookmatching, cutouts, and joint positions on an elevation. A seam through the strongest part of a pattern can change the result. Confirm exposed edges and returns too.
Check the weight of the actual product
Do not use 15–20 pounds per square foot as a universal stone-wall allowance. One 20mm marble product weighs about 11.3 lb/ft², while Cosentino’s Dekton data lists approximately 4.1 lb/ft² at 8mm. These examples exclude the rest of the installation assembly.
Have your installer assess the substrate, attachment system, and support conditions, with structural review where needed. For fireplaces, follow the appliance and facing-system requirements, including clearances. A heat-resistant surface alone does not establish a safe assembly.
Wood Panels: A Warm Backdrop or an Enveloping Room
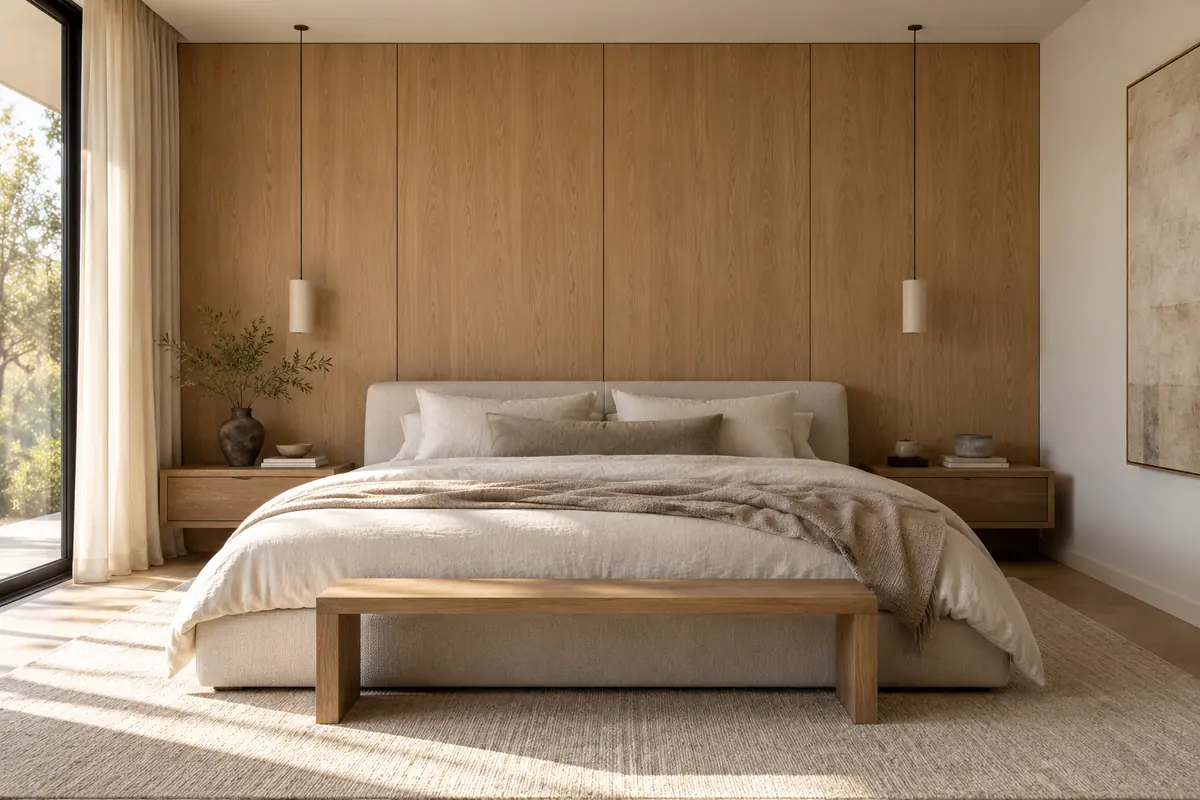
A white oak headboard wall can make a bedroom feel settled without covering every surface. Carry the panel layout around bedside tables and lighting so the wall feels designed with the furniture. Keep adjacent walls simple when the floor and wardrobe already add plenty of wood.
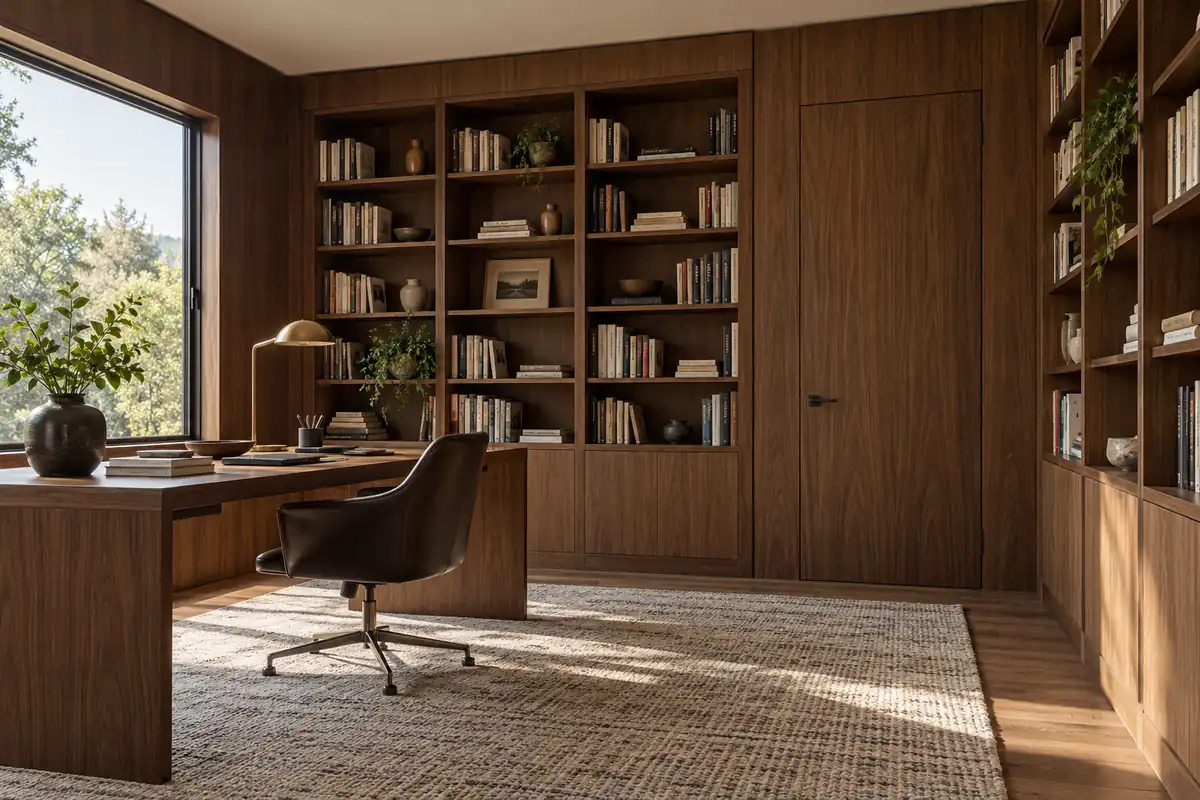
A study offers another possibility. Quiet walnut veneer can continue across walls, shelving, and a flush door, creating a connected room rather than several separate accents. A lighter ceiling and soft furnishings help balance the depth of the wood.
Ask whether the product is solid wood, real wood veneer over a composite core, or a decorative wood-look surface. Specify grain direction, sheen, panel size, and acceptable color variation. Slats introduce shadow and rhythm, but also more edges to dust. Their appearance alone does not prove sound-insulation performance.
What to check when sourcing wood panels
For US projects, check the applicable formaldehyde requirements for the core and finished product. EPA guidance requires regulated composite wood panels manufactured in or imported into the US after March 22, 2019 to comply with TSCA Title VI. A CARB Phase 2 claim alone should not replace that check.
Request traceable product documentation, relevant labels, and the panel producer’s certification details. Confirm additional California requirements where applicable. “Natural veneer” describes the surface; it does not tell you everything about the board underneath.
Kitchen Tile: Give the Backsplash a Clear Boundary
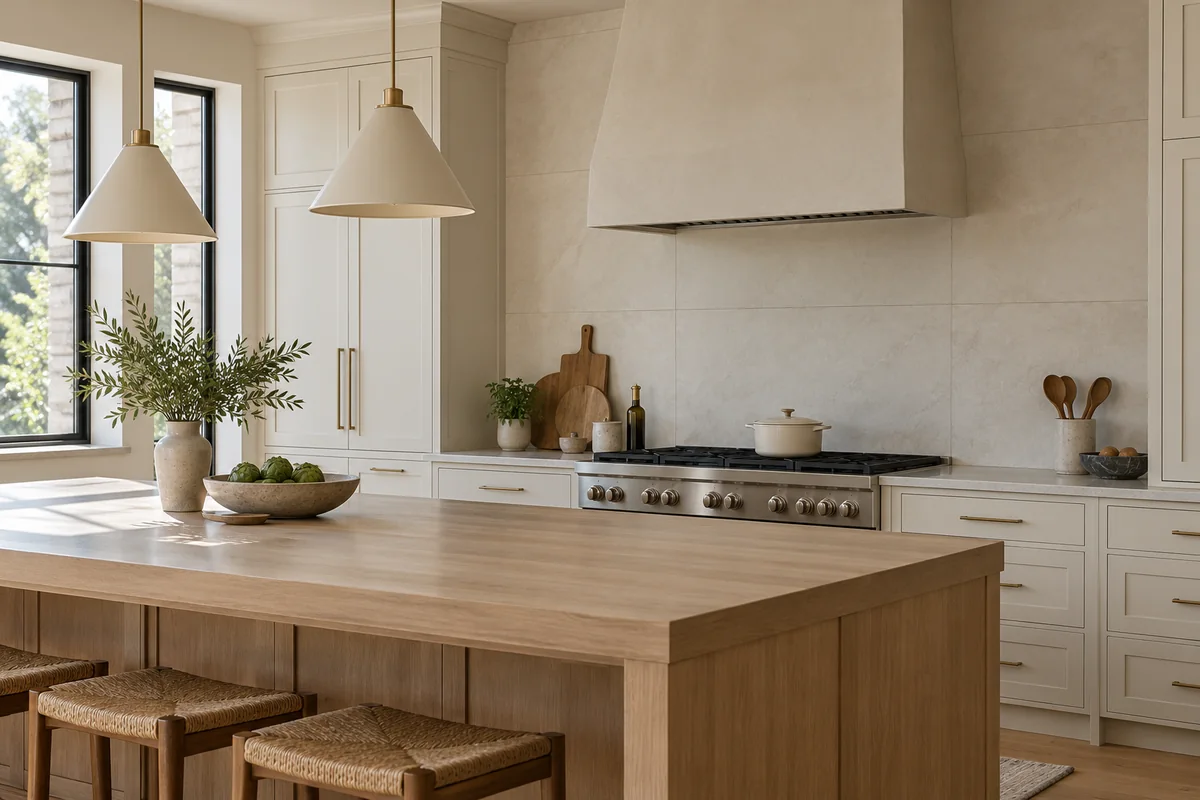
In a kitchen, we often begin with the backsplash rather than adding a separate decorative wall. It already has a useful role and a natural relationship with the countertop, range, and cabinetry.
A bold tile behind the range can be enough. Alternatively, take a quieter tile across the full backsplash and up around a simple hood. Check where the finish meets upper cabinets, window trim, and exposed wall edges before ordering.
Large-format tile can reduce the number of joints. A 600 × 1200mm tile measures approximately 23.6 × 47.2 inches, close to the common nominal US size of 24 × 48 inches. Verify the actual dimensions for layout and purchasing.
Daltile recommends closely matched grout to soften the grid and simple surrounding elements to let the tile lead. Large format still needs joints, suitable substrate preparation, and an installation method matched to the product. Plan outlet openings and narrow end cuts on the drawing, not on installation day.
Bathroom Tile: Cover the Wet Area, Control the Pattern
A bathroom can need extensive tiled surfaces without needing dramatic patterns everywhere. We like to separate functional coverage from visual emphasis.
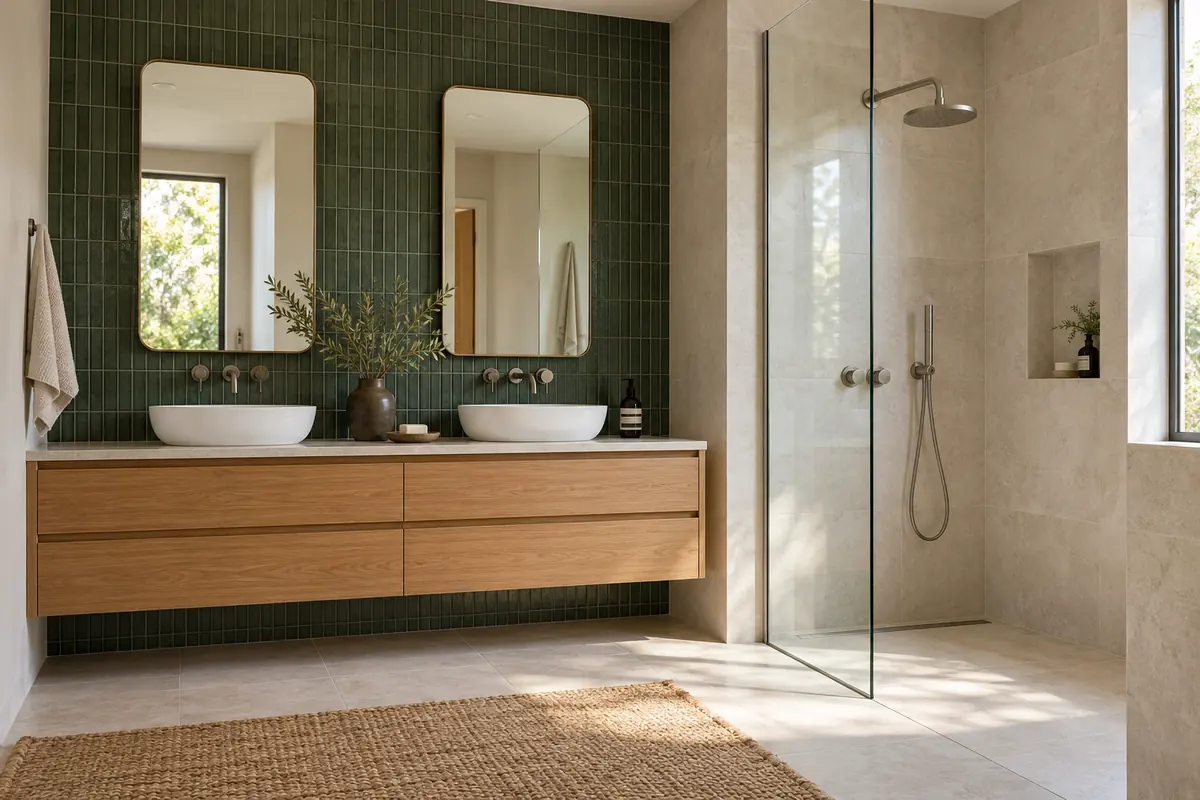
For example, green tile behind an oak vanity can provide the focal point, while quiet beige tile continues through the shower. Or let a veined shower end wall stand out against simpler side walls. Keep the floor connected in color without making it compete.
Large tiles can create a calmer field in a small bathroom, but only when the layout works. Numerous niches, short walls, and awkward corners may create excessive cuts. Review tile orientation and the position of visible joints before choosing the largest available size.
Tile is the visible finish, not the entire waterproofing system. Have your installer coordinate the substrate, waterproofing, penetrations, joints, and drainage. For floors, confirm suitability for the intended wet use rather than assuming a wall tile can go everywhere.
Where Should the Material Stop?
Before deciding how many square feet to buy, find a convincing endpoint. An inside corner, cabinet edge, door casing, or complete fireplace volume usually provides a clearer boundary than an arbitrary line across an open wall.
Partial-height paneling can work when its top aligns with something meaningful, such as a headboard or built-in ledge. Ask for a drawing showing the top edge, baseboard, outlets, and door trim together. A beautiful finish can still look unfinished when those connections are unresolved.
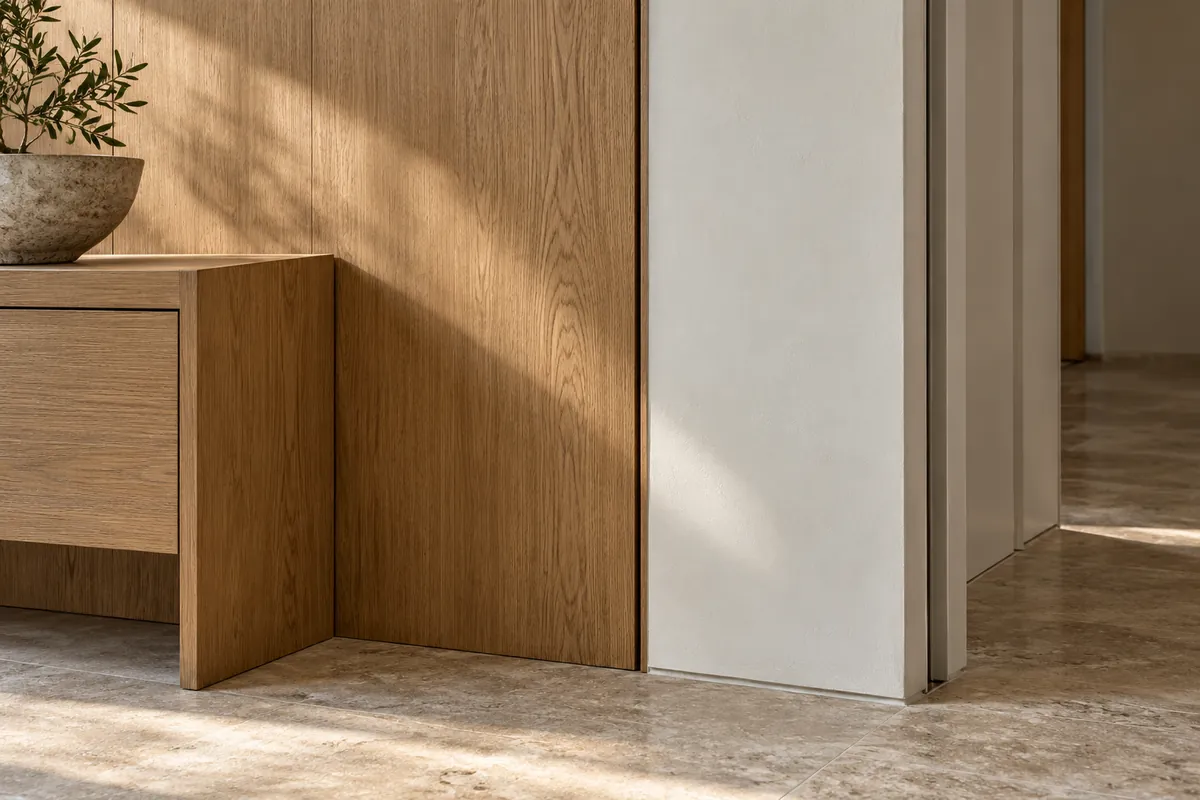
Compare material thicknesses and approve the edge treatment. A slim reveal, finished return, or selected metal profile may solve the transition, depending on the system. Check lighting too: grazing light can reveal unevenness and make relief patterns much stronger than they looked in the showroom.
Less coverage can reduce material quantities, but the installed price may not fall proportionally. Slab purchases, fabrication, access, freight, and minimum labor charges can remain significant. Compare complete installed scopes.
Before You Order: Samples and Common Questions
Bring generous samples into the room. View them vertically beside the actual floor and cabinet finishes, in daylight and under evening lighting. Confirm the selected product, thickness, finish, layout, quantities, and installation responsibilities in writing. Renderings help explain the idea; approved samples and drawings define what you are buying.
Can a small room have a full wood or stone finish?
Yes. Quiet patterns and consistent tones can create a cohesive enclosure. Judge the whole composition, including ceiling, lighting, and furniture, rather than rejecting full coverage based only on room size.
Can an open-plan home have several accent walls?
Yes, but we assess them together from shared viewpoints. Choose a leading feature and let the others play a quieter supporting role.
Should the accent wall always be the largest wall?
No. The wall behind a bed, fireplace, or vanity may make more sense. Choose the wall that supports the room’s layout and purpose.
Does using less material always look more luxurious?
No. Restraint helps when patterns compete, but thoughtful full-room detailing can be equally successful. The goal is a room that feels resolved, with a clear reason for each material choice.
For coordinated overseas sourcing, use one finish schedule across suppliers. Agree on sample references, panel numbering, packaging, and replacement quantities before production. Your local contractor should review installation details while changes are still easy to make.