


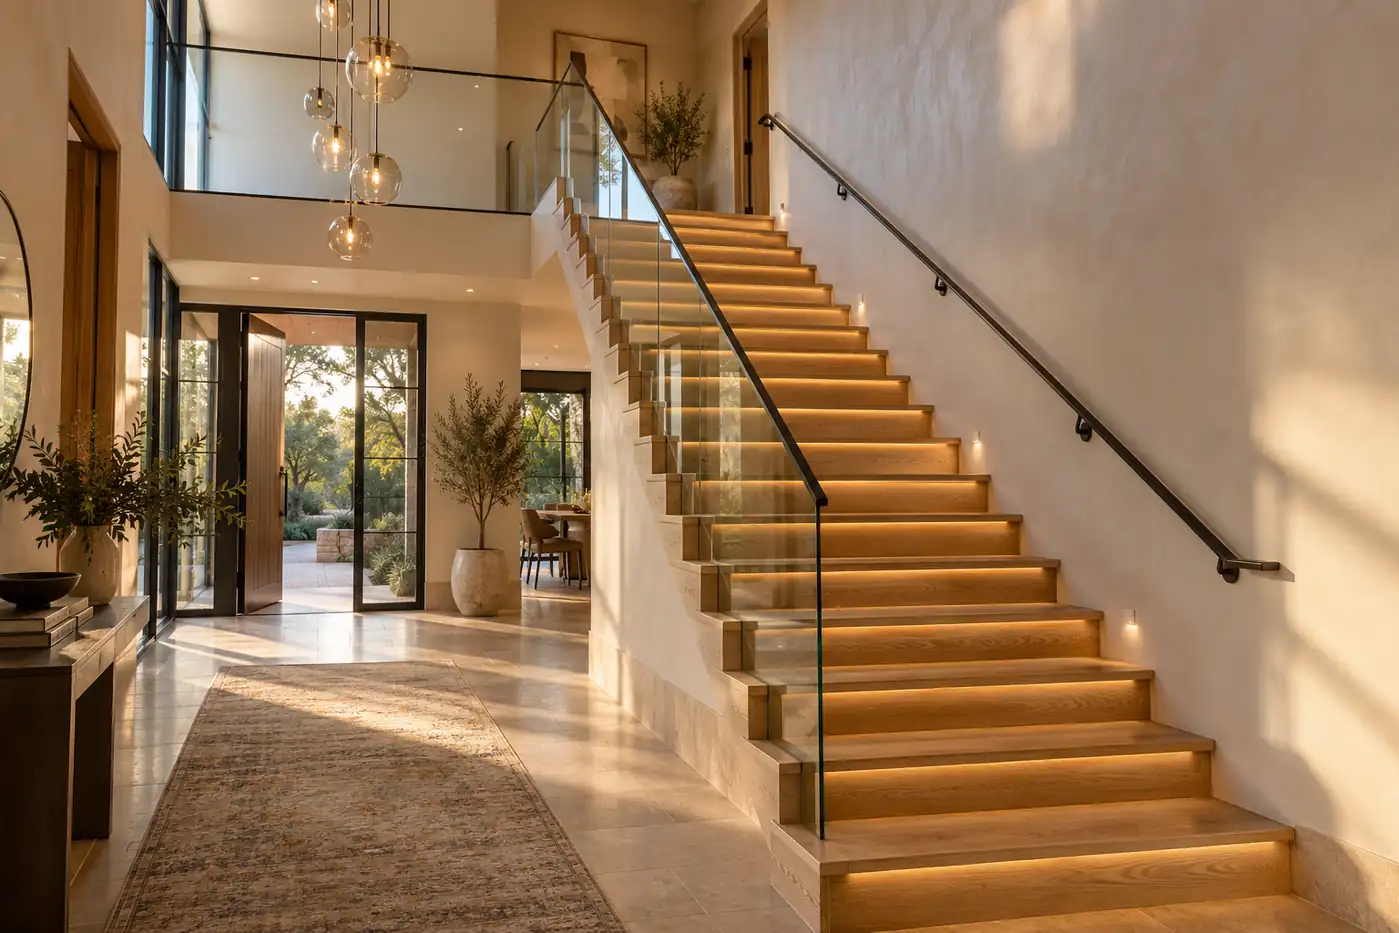
Imagine choosing beautiful oak treads and a slim glass railing, then realizing there is nowhere to hide the lighting cables. That small detail can mean reopening finished work. We prefer to discuss staircase lighting while the stair is still on paper.
Recessed step lights help reveal the treads, handrail lights create a continuous line of illumination, and pendants bring light and presence to the stairwell. The right combination depends on your staircase, nighttime needs, and construction stage. Here is how we would work through those choices with you.
Table of Contents
Compare the Three Staircase Lighting Options
Start with the walking route. Every tread, the first and last step, and the landings need attention. A glowing handrail or striking chandelier is useful only if the light reaches the places you need to see.
| Option | Main benefit | Best starting point | Plan ahead for |
|---|---|---|---|
| Recessed step / tread lights | Targeted light near your feet | Nighttime guidance; stairs beside a wall | Recesses, cable routes, fixture access |
| LED handrail lights | Continuous light along the stair | Compatible glass, cable, or wall-mounted handrails | Rail profile, power feed, corners |
| Pendant / chandelier | Ambient light and a focal point | Double-height entries and open stairwells | Suspension, support, clearance, cleaning |
These options can work together. None is automatically the safest: coverage, glare, shadows, and reliable controls matter more than the fixture category.
Compare installed scope, not just the price of the lights. Ask whether quotes include profiles, diffusers, drivers, controls, wiring, and finishing repairs. For a tall stairwell, include installation access and future servicing. A modest fixture can become an expensive choice if fitting it requires reopening stonework or bringing scaffolding into a completed home.
Recessed Tread Lights: Bring Light Close to Each Step
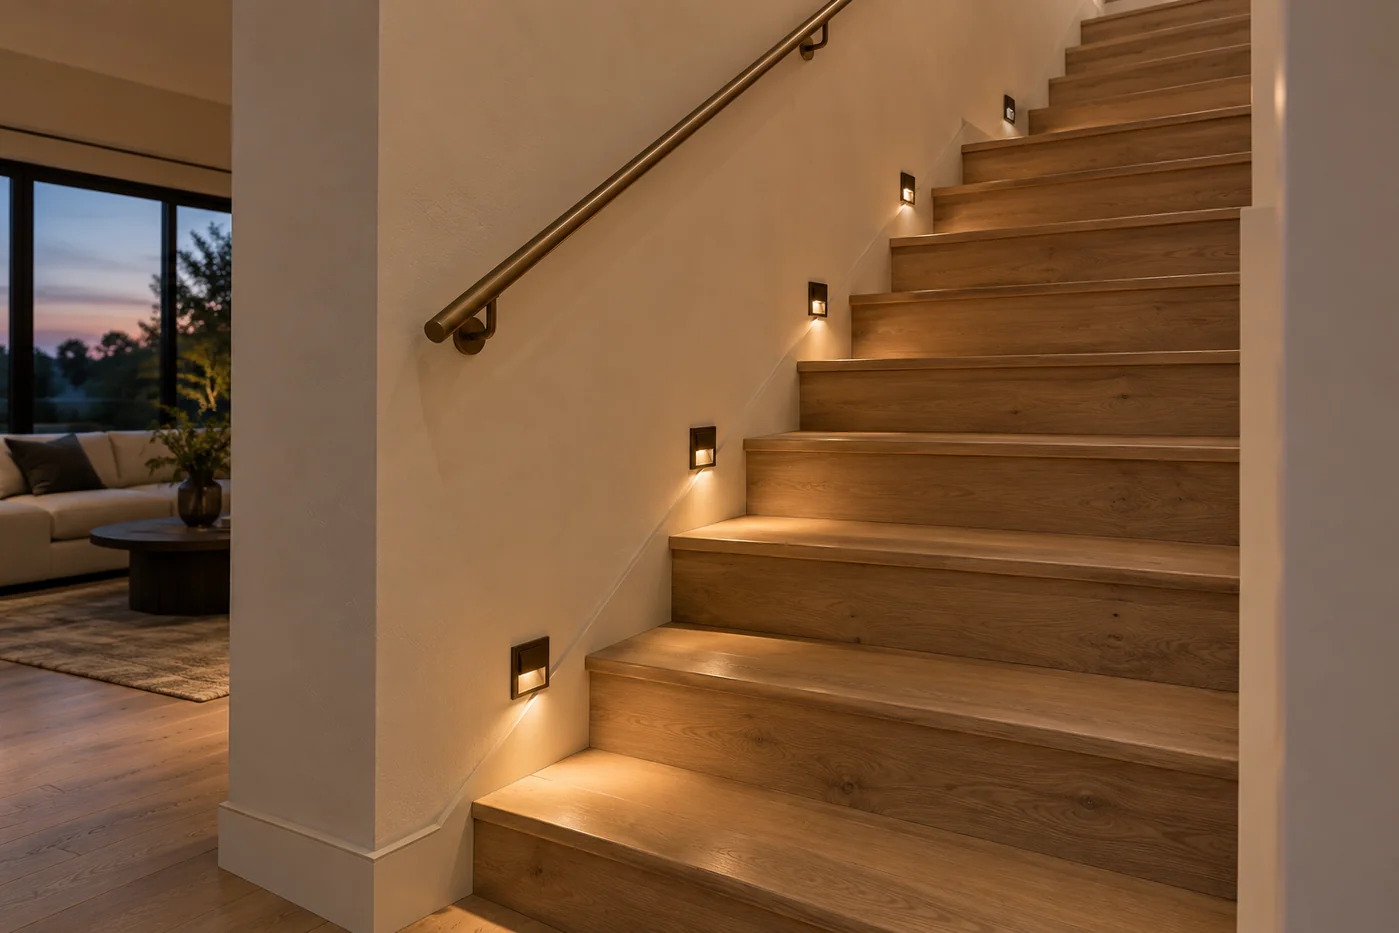
The terminology can be confusing. A recessed step light often sits in the adjacent wall or vertical riser. Under-tread lighting uses a concealed strip beneath the front edge of a tread. We would specify the exact position before comparing products.
Wall lights can wash light across closed-riser stairs. Under-tread strips can emphasize the edges of wood or stone steps and create a floating effect on open-riser designs. In both cases, the aim is a clearly visible walking surface with the source comfortably shielded.
Look up the stairs as well as down. An LED hidden from someone descending may shine directly into the eyes of someone below. A recessed profile, suitable optics, or a diffuser can help, but the final viewing angles still need checking.
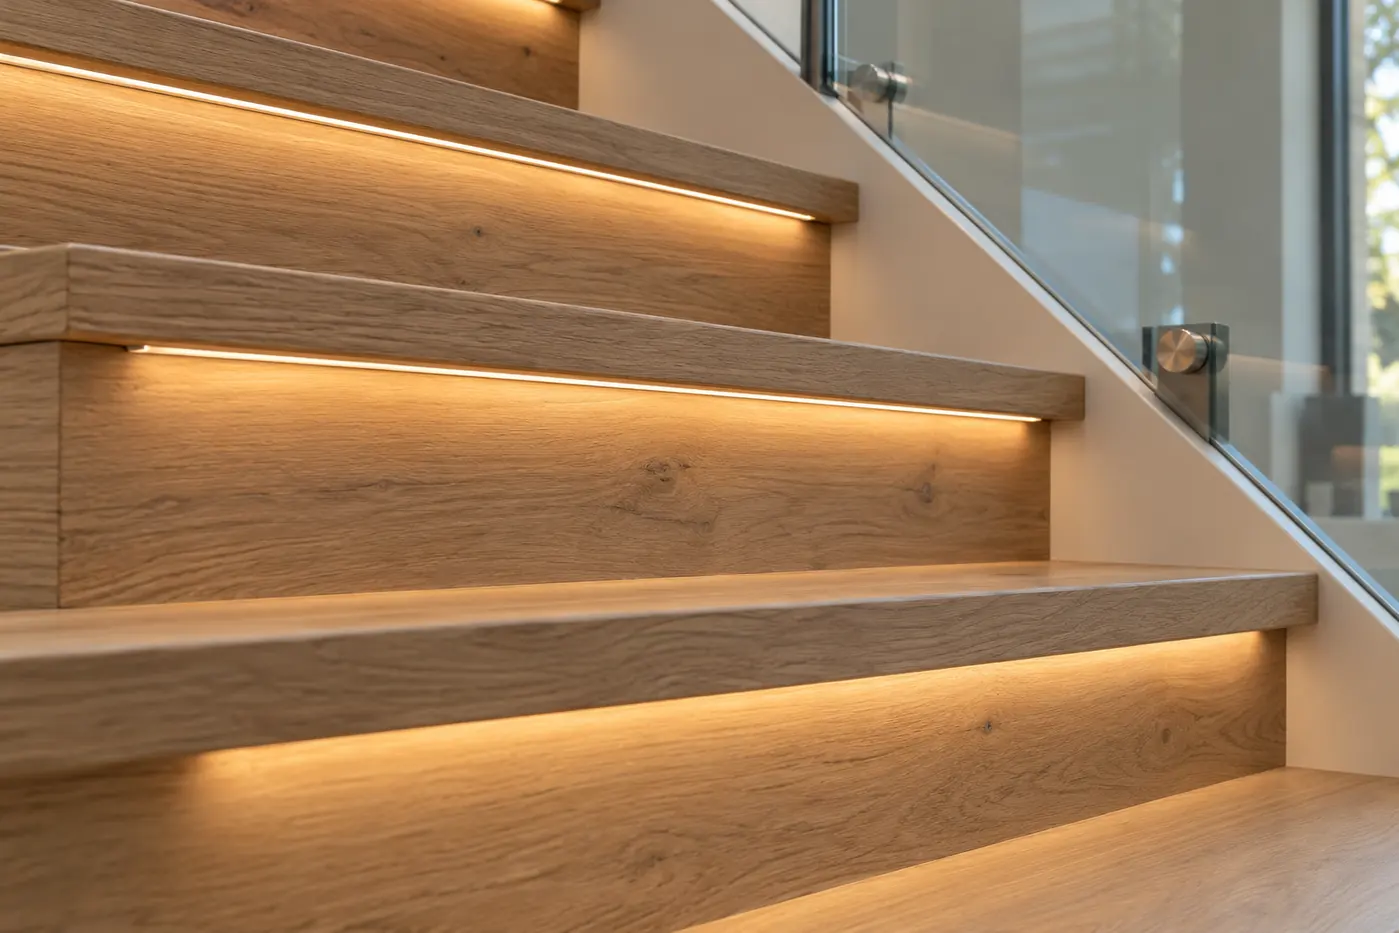
Do you need a light on every step? Not necessarily. Fixture output, beam spread, mounting position, and stair width determine spacing. Ask for a sample or lighting layout instead of copying a fixed “every third step” rule.
The trade-off is coordination: multiple lights mean multiple connections. Agree on recesses and cable access before fabrication, and keep fittings replaceable. Brilliant Lighting’s project examples show why concealment and maintenance must be designed together.
Railing Lights: Check the Handrail Before Choosing the LED
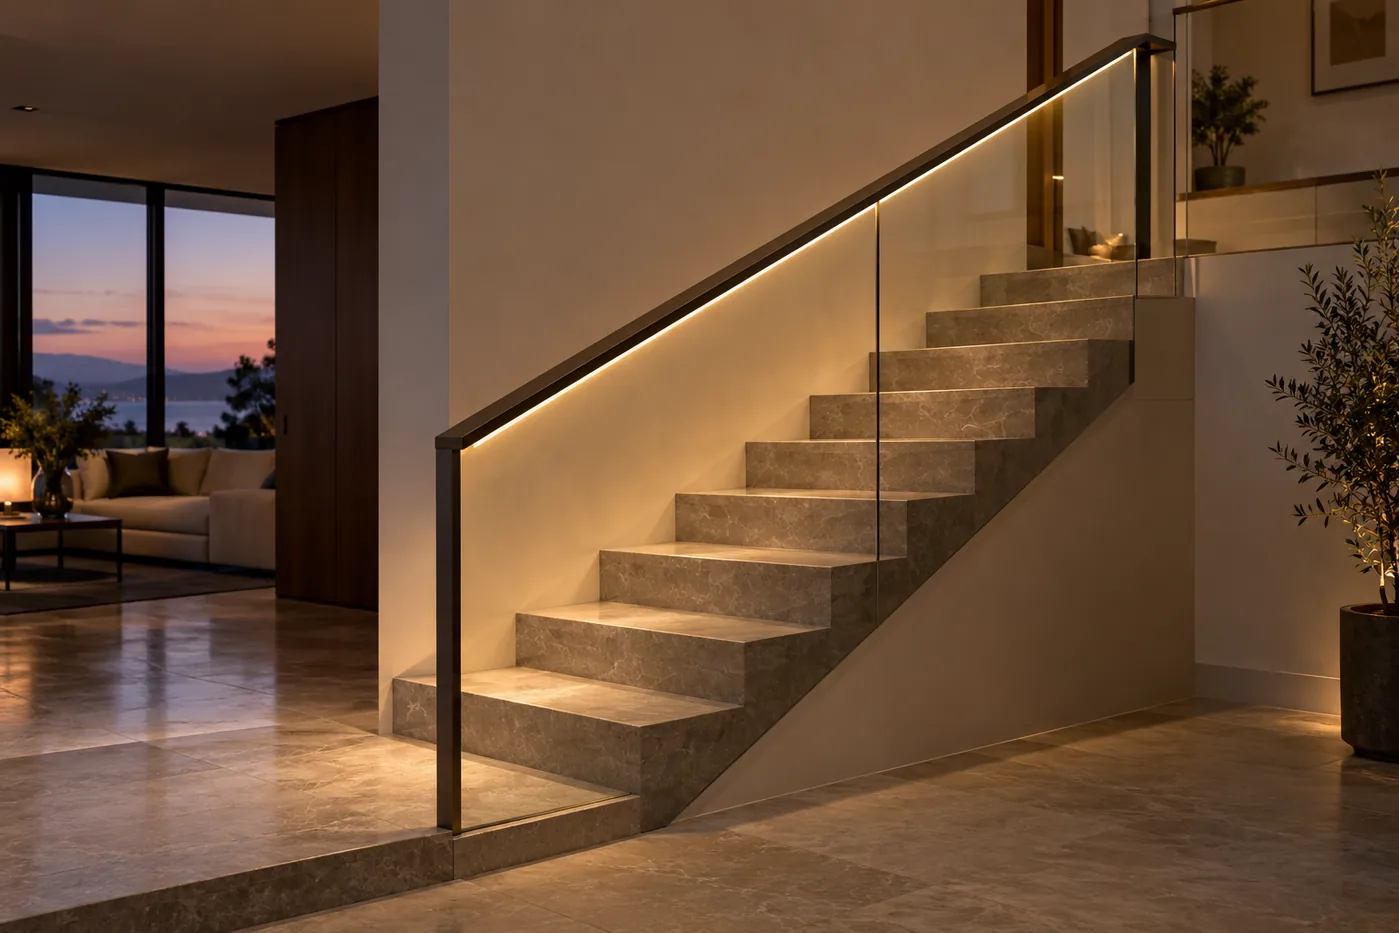
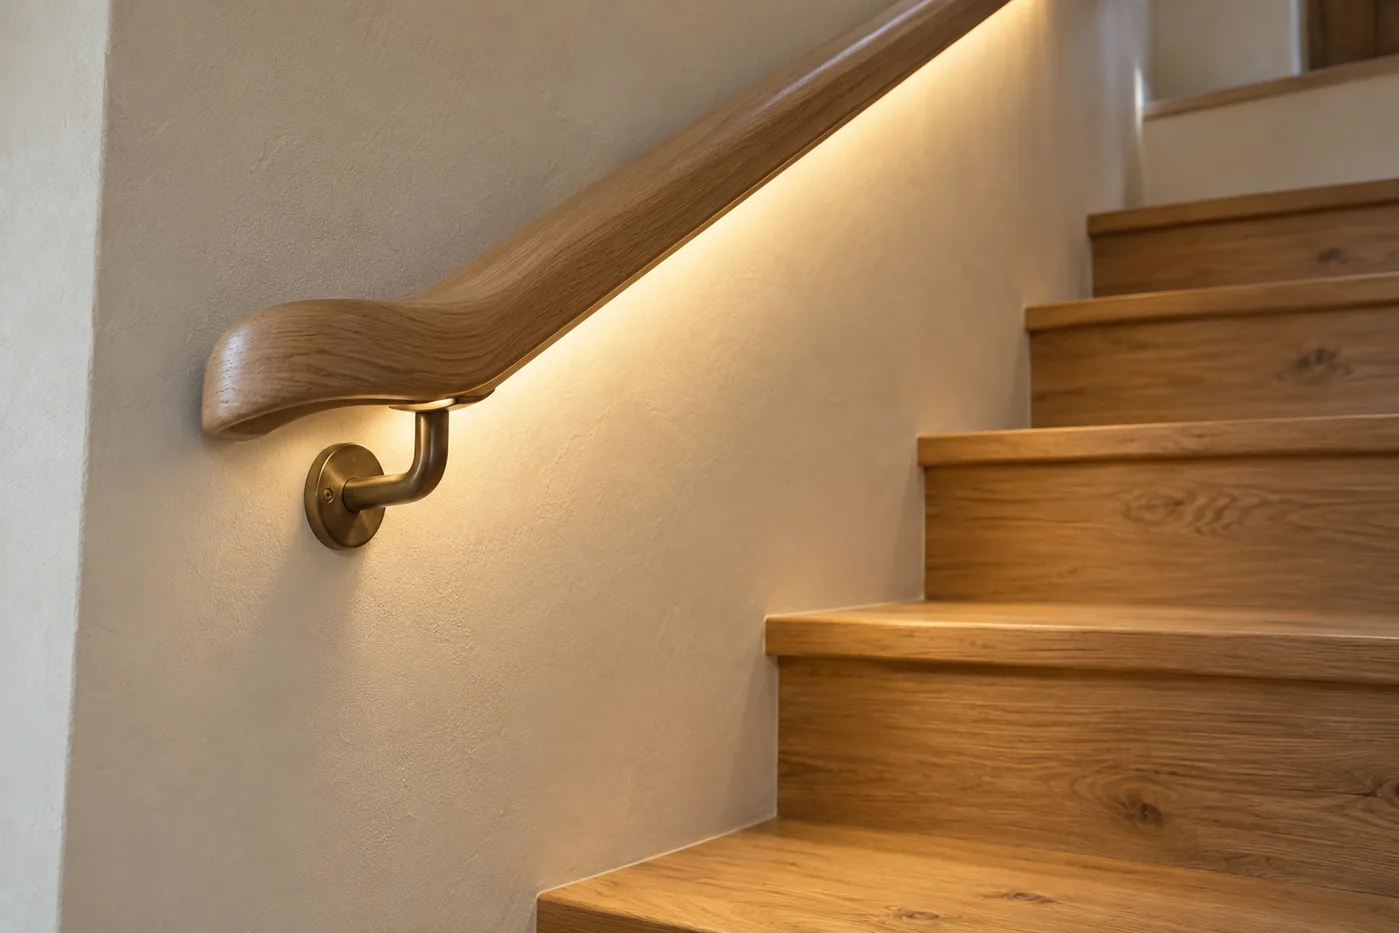
An illuminated handrail draws a quiet line through the space. It can suit a modern glass balustrade, a cable railing, or a separate wall-mounted rail. The LED usually belongs inside or underneath a compatible handrail profile; the glass or cables do not provide a ready-made mounting channel.
For example, Q-railing’s Linear Light system includes illuminated handrail and cap-rail arrangements. That illustrates the value of choosing a coordinated system rather than assuming any existing rail can accept a strip.
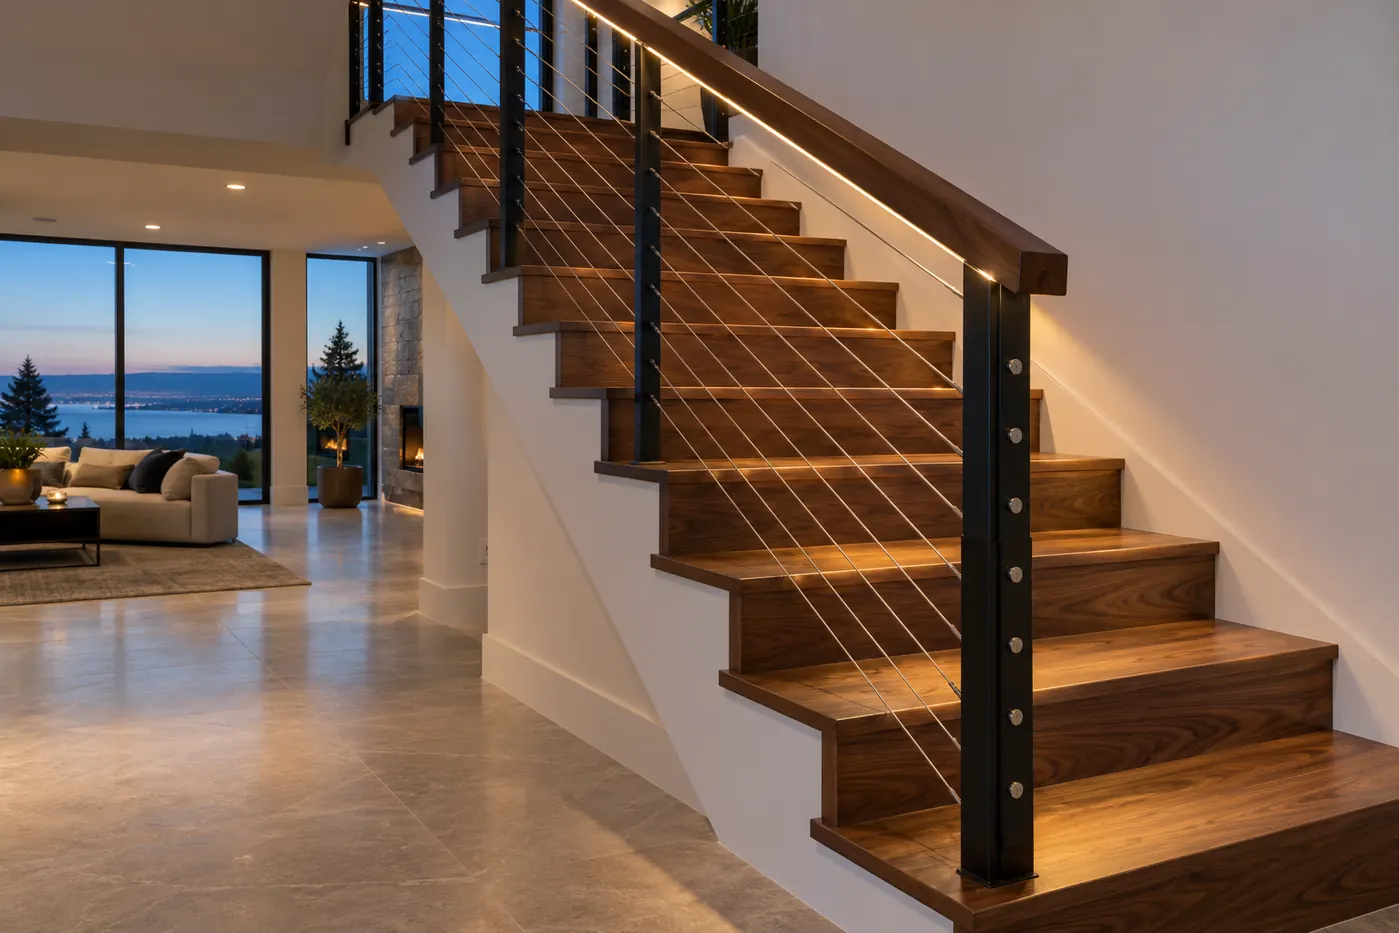
Can you install it without cutting grooves? Sometimes. A purpose-made profile or suitable surface-mounted channel may avoid routing the rail. Flush integration into an ordinary timber handrail may require machining. Either way, you still need a concealed power feed.
Before ordering, confirm where the cable enters, how the lighting crosses corners, and where the driver sits. Also check the far side of wide treads and the landing: a bright line beside the stairs does not guarantee even coverage across them.
Ask to see a short illuminated sample of the actual rail. Check it while standing, climbing, and sitting in the room beside the stairs. This catches details a product photo cannot show: visible LED dots, distracting reflections, or a channel that changes how the rail feels in your hand. The handrail still needs to work comfortably as a handrail.
Pendants and Chandeliers: Make the Most of a Tall Stairwell
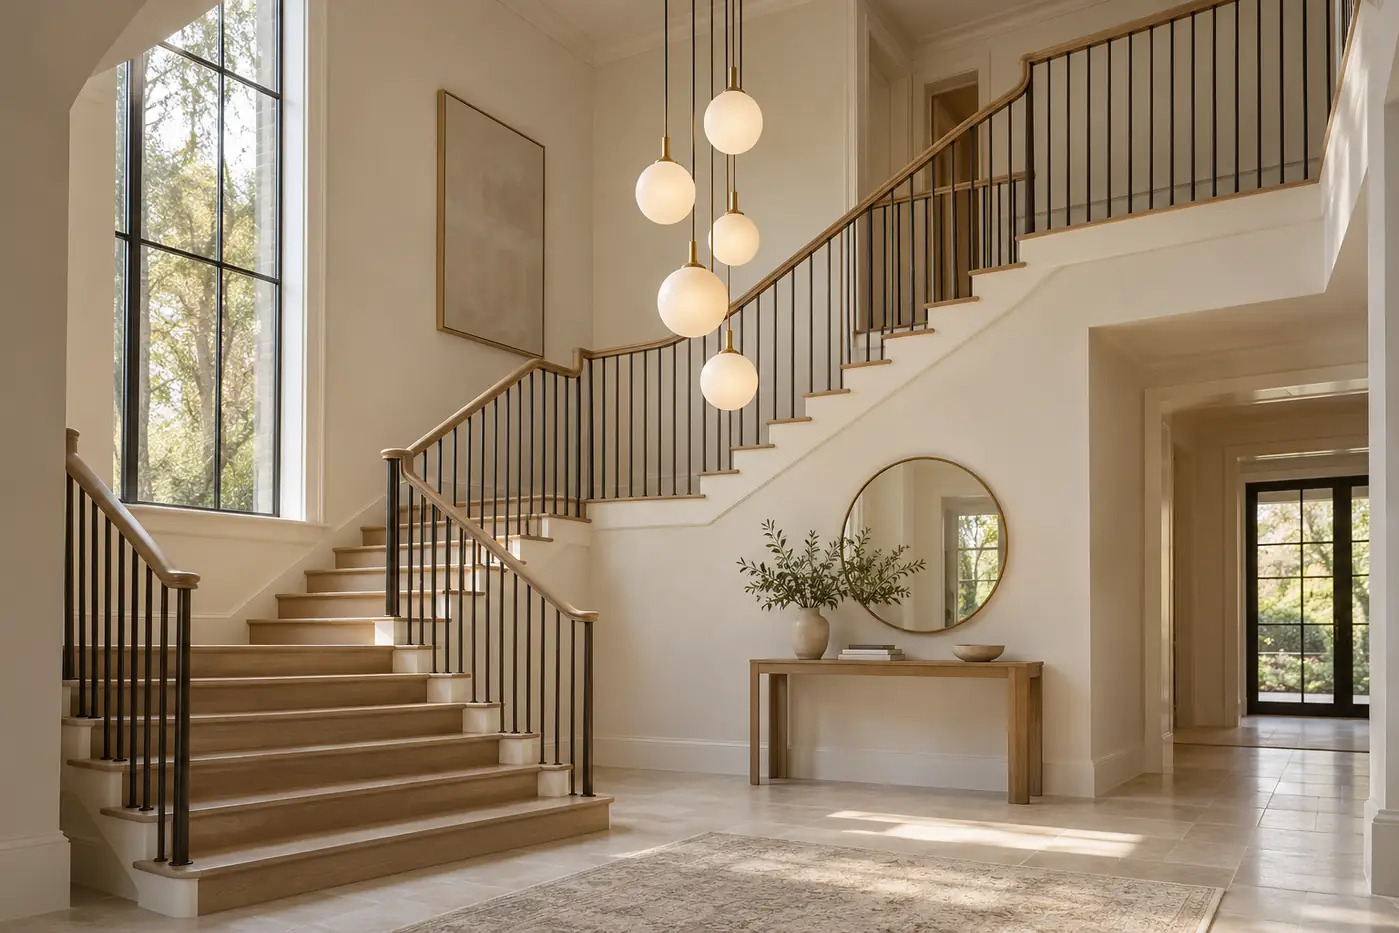
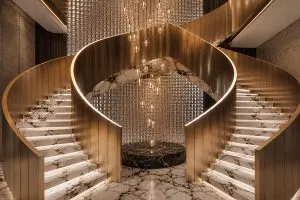
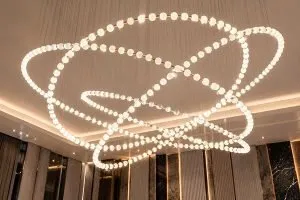
A double-height entry gives a pendant room to breathe. A vertical cluster can connect the two levels visually, while a wider chandelier may balance a generous foyer. We start with the stairwell’s proportions and sightlines, then consider the fixture.
Check the position in both plan and section. The light must leave appropriate clearance above the actual walking route and avoid awkward glare from the upper landing. A hanging-height rule taken from a dining room is not enough here.
Light from above may leave shadows behind people or stair turns. Assess the treads after dark and add a low-level source where needed. Include the upper landing in that check.
Installation and maintenance deserve the same attention as appearance. Confirm the support requirements and a practical way to clean the fixture or replace components. A chandelier you cannot safely reach becomes a recurring project.
Choose a Combination for Your Staircase
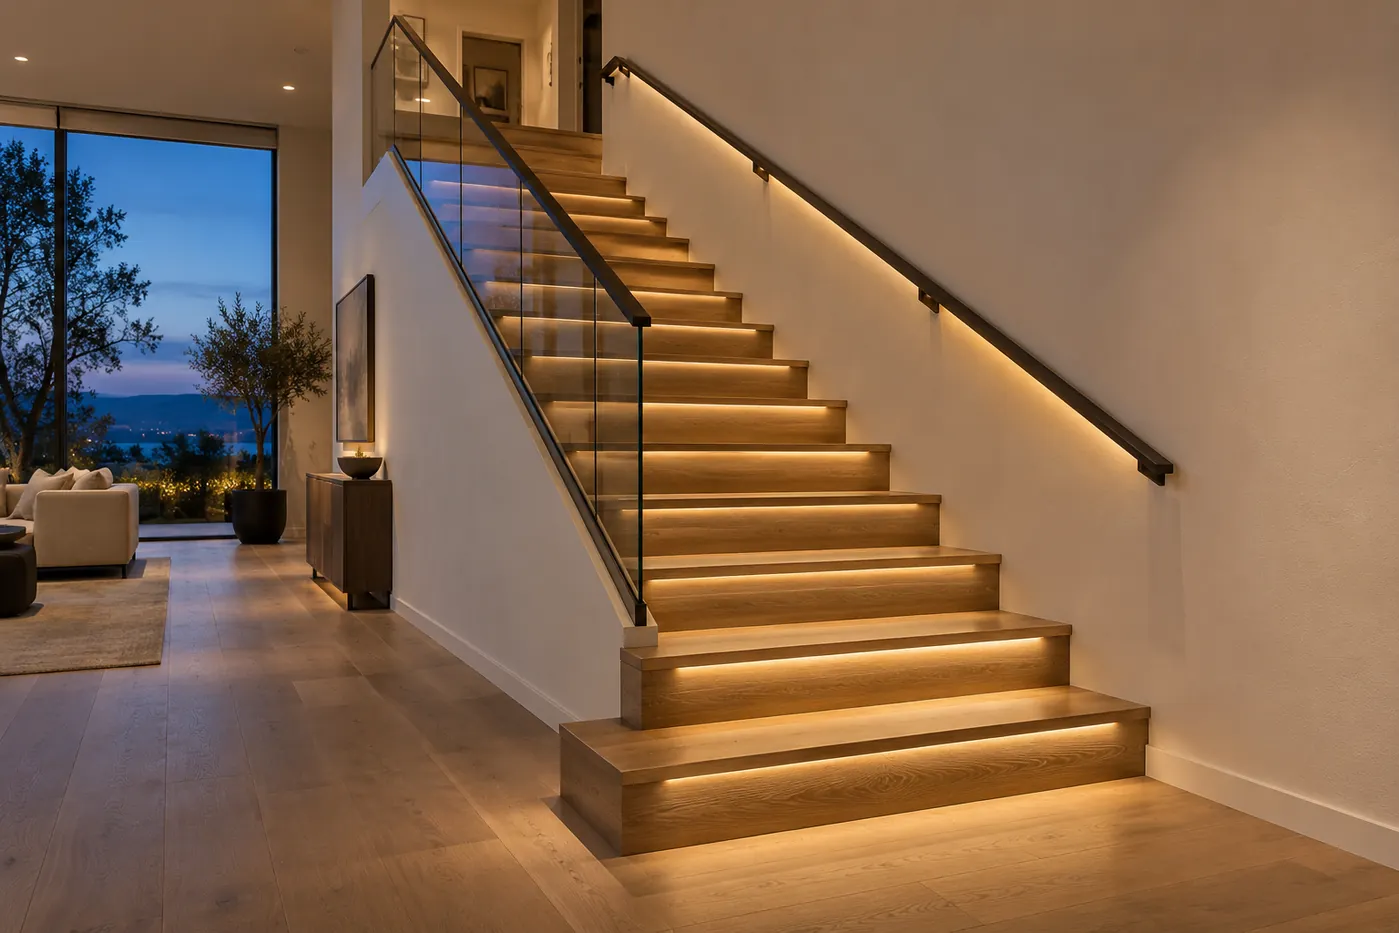
- Enclosed stairs beside a wall: consider shielded wall step lights, with general lighting that covers the landings.
- Open stairs with glass: compare under-tread lighting and an illuminated handrail against the available construction details.
- Double-height foyer: combine a pendant with low-level lighting where the overhead fixture leaves shadows.
- Finished renovation: inspect existing power and accessible cable routes before committing to recessed fittings.
Tread lights and handrail lights can work together, especially when each has a clear purpose and separate dimming. However, you do not have to outline every edge. General lighting plus one well-chosen low-level system may give you everything you need.
For a calm result, give each layer a clear job: low-level lights reveal the steps, while general lighting keeps the landings readable.
For a renovation, decide how much disruption you are willing to accept. Replacing a compatible handrail may be manageable, while chasing new cables through finished walls may not suit your schedule. Keep the preferred appearance and the installation scope in the same conversation; neither should arrive as a surprise after ordering.
Plan Wiring Before Fabrication and Finished Surfaces
The important deadline depends on the construction. Cast-in conduits may need coordination before concrete is poured. Timber or metal stairs need their lighting details agreed before fabrication. Wall recesses and concealed cable routes should be resolved before the surfaces are closed.
- During design: agree on fixture positions, light direction, controls, and the stairs’ finished dimensions.
- Before fabrication and rough-in: coordinate channels, mounting details, power feeds, and an accessible driver location.
- Before covering the work: have the electrician check the wiring and connections, and record their locations.
- After finishes: install the lighting, adjust it, and test the whole route at night.
Avoid sealing drivers and connections permanently behind stone or plaster. Ask how a failed strip, fitting, or power supply will be replaced. Accurate Stairs explains the fabrication decisions that integrated lighting affects.
When we discuss custom staircase solutions, we want to know about lighting alongside tread materials and handrail preferences. Your local electrical team should confirm the final electrical installation and applicable requirements.
Give the electrician and staircase supplier the same marked drawings. Identify who supplies the lighting, who prepares the recesses, and who connects and tests the system. Include the driver and dimmer specifications in that exchange. This simple handover helps prevent a finished stair arriving before its electrical requirements have been agreed.
Keep the Light Comfortable and Easy to Use
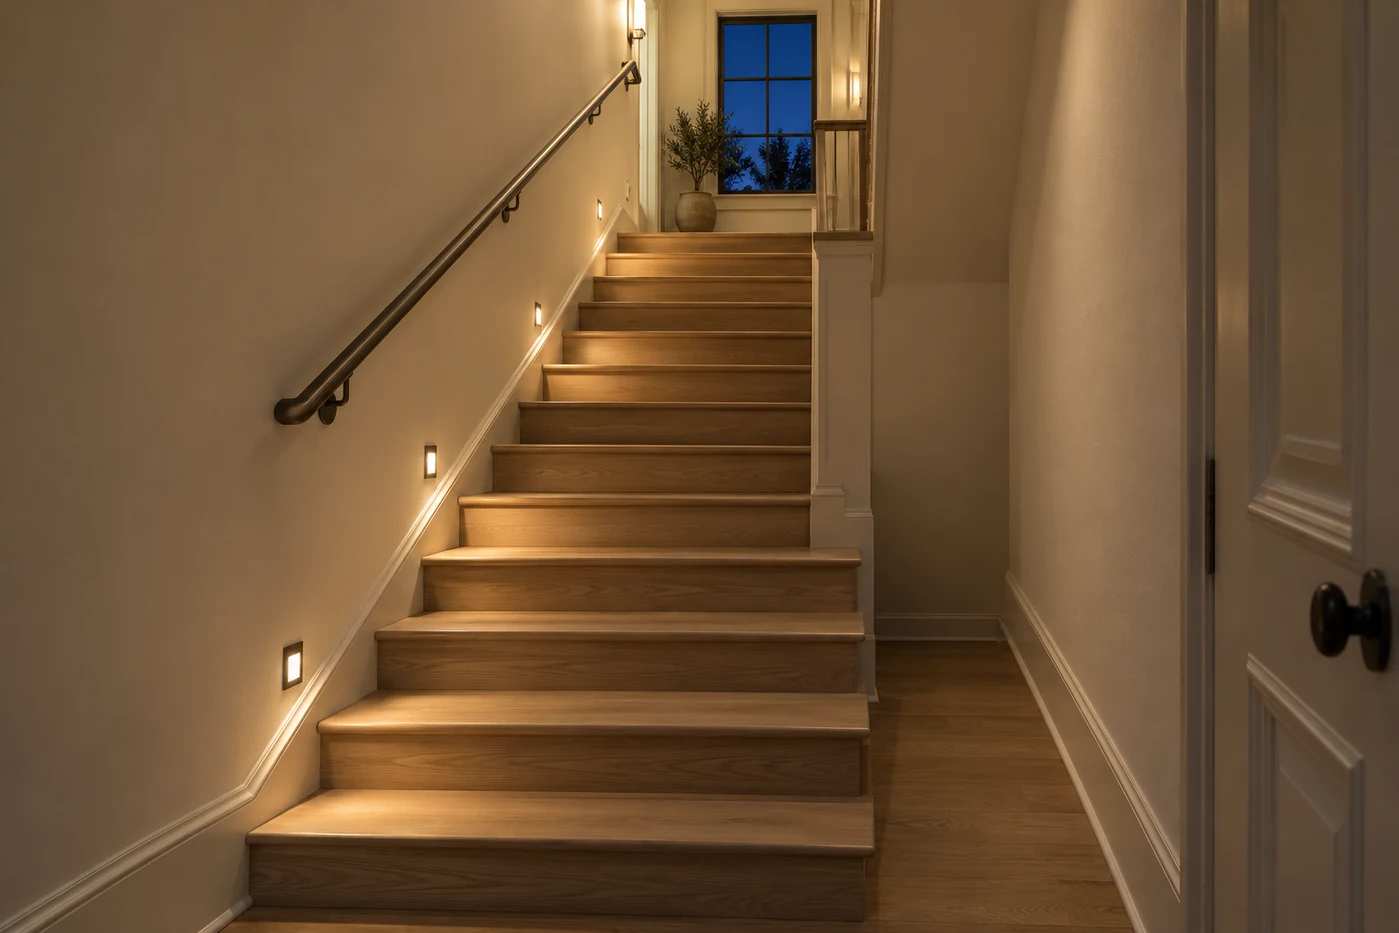
Warm white, around 2700–3000K, is a useful starting point for residential samples. Compare it with the lighting in adjoining rooms and with your actual wood, stone, and wall finishes before making the final choice.
Glass, polished stone, and metal can reflect individual LED points. A continuous-looking diffuser and careful source placement can reduce distractions. More brightness does not automatically make edges easier to read.
Separate everyday lighting from the nighttime setting. A motion sensor should detect someone before they enter the stairs and keep the lights on throughout the journey. Test approaching from both ends, and discuss convenient manual control with your electrician.
Finally, walk the route in both directions after dark. Look for a dim first step, a shadowed turn, or a sudden change in brightness at the landing. Correct those details before calling the installation finished.
Staircase Lighting Questions
Can a pendant light a staircase on its own?
Sometimes, if its distribution reaches all treads and landings without troublesome shadows or glare. Confirm the result on site rather than judging by fixture size.
Do I need tread lights and handrail lights?
No. Choose both only when they serve useful roles. One effective low-level system with suitable general lighting may be enough.
Can lighting be added after the stairs are installed?
Often, but concealed wiring and recessed fittings may require additional work. Start by checking power access and compatible surface-mounted options.
When should I tell my staircase supplier?
During design, before shop drawings and fabrication are finalized. Share the lighting type, desired effect, and control preferences.
Let’s Plan Your Staircase and Lighting Together
Send us your floor plans, floor-to-floor height, preferred materials, and construction stage. We’ll help you explore staircase options and coordinate the details that make lighting feel part of the design.